Coturnix quail, or Japanese quail, are small, hardy birds known for their quick growth, prolific egg-laying, and meat production. They are often the first choice for novice poultry enthusiasts, urban farmers, or anyone looking to delve into the world of egg and meat production on a small scale. The following beginner’s guide will take you through the essentials of Coturnix quail hatching eggs, and raising healthy chicks.
Contents
Obtaining Fertile Eggs
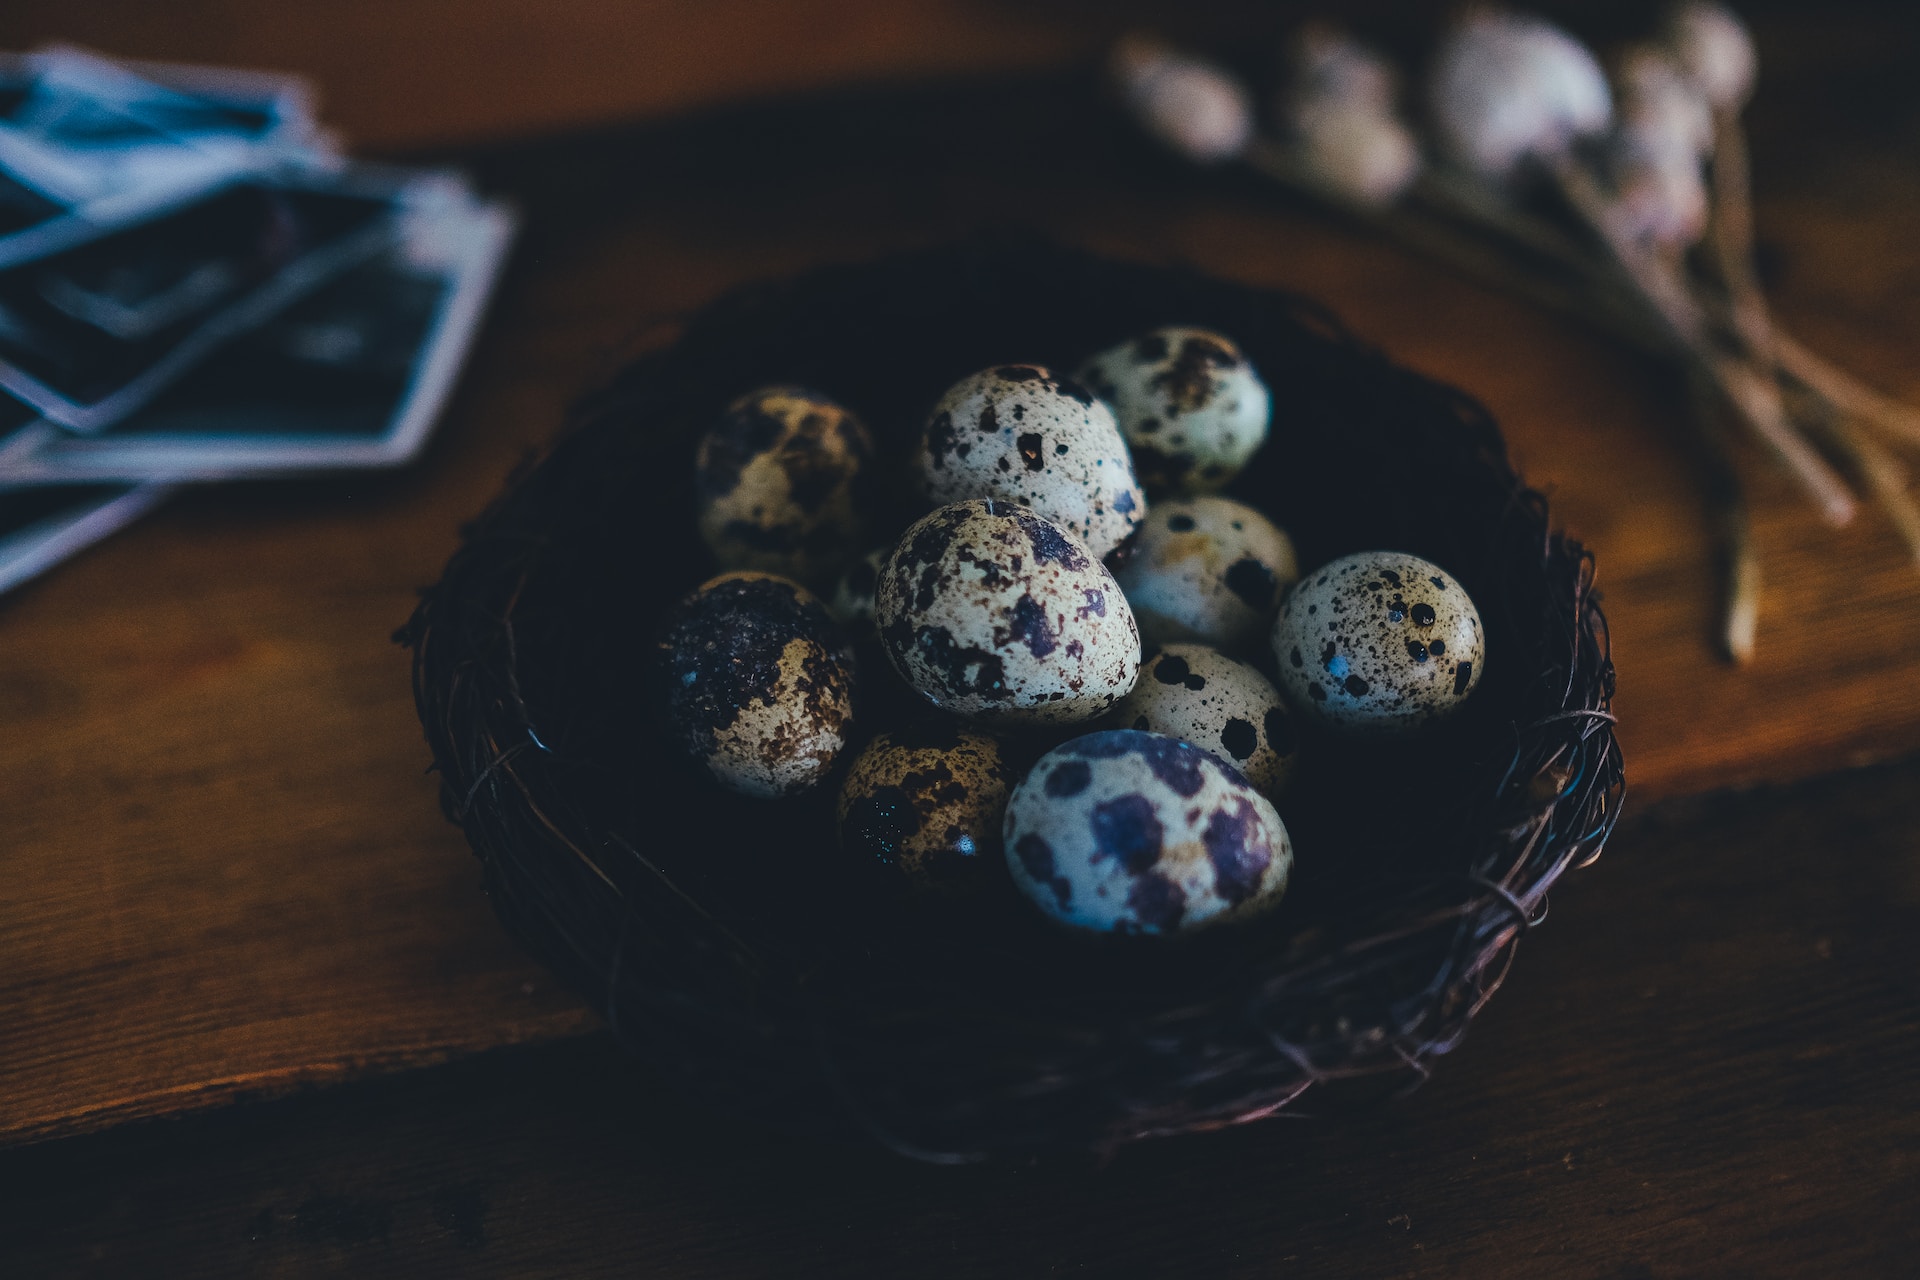
Your quail journey begins with obtaining fertile Coturnix quail eggs. Many local breeders and online sellers provide these. When choosing, look for clean, uncracked products. The size should be uniform, and the shells should have a nice bloom or sheen, indicating freshness. After purchasing, eggs should be stored at a cool room temperature (approximately 55-60°F) for up to 7 days before incubation.
The Incubation Process
Set Up Your Incubator
The incubator’s role is to mimic the conditions under a brooding hen. A forced air incubator with an automatic egg turner is recommended for best results. Ensure the incubator is clean and set the temperature to 99.5°F (37.5°C) and humidity to 45-50% for the first 14 days.
Placing Them
Once the incubator has reached the desired temperature and humidity, place the eggs inside. Position them horizontally if your incubator turns them automatically. If not, place their pointy end down and turn them manually at least 3 times daily.
Monitor and Adjust
Daily monitoring of temperature and humidity is crucial. From day 15, increase the humidity to 60-65% to prevent the chicks from sticking to the shell. Stop turning the eggs during the last three days of incubation.
Hatching
Coturnix quail eggs typically hatch on day 17 or 18. Please resist the urge to help the chicks out of their shell at this stage. They need to perform this task to strengthen their muscles and allow the absorption of the remaining yolk sac. After hatching, leave the chicks in the incubator for 24 hours to dry and gain strength.
Caring for Coturnix Chicks
Providing Heat
Once dry and active, move the chicks to a brooder box with a heat lamp. Maintain a temperature of 95°F (35°C) for the first week, gradually reducing by 5°F each week until they are fully feathered.
Nutrition and Hydration
Provide your chicks with a game bird starter feed with a 24-28% protein content. Provide fresh water at all times, but make sure the water bowl is shallow to prevent them from drowning.
Socialization
Coturnix quail are social birds. Raising them in groups will help develop their natural behavior and reduce stress.
Health and Well-being
Regularly monitor your chicks for signs of illness, such as lethargy, lack of appetite, or unusual droppings. Provide plenty of space, as overcrowding can lead to stress and disease. Once the creatures are fully feathered, they can be moved to their permanent housing.
Conclusion
Embarking on a journey with Coturnix quail hatching eggs is not just about hatching and raising chicks. It’s about embracing a sustainable lifestyle, learning about life cycles, and gaining a new appreciation for these tiny, resilient creatures. They will reward your efforts with nutritious eggs, lean meat, and their lively presence.