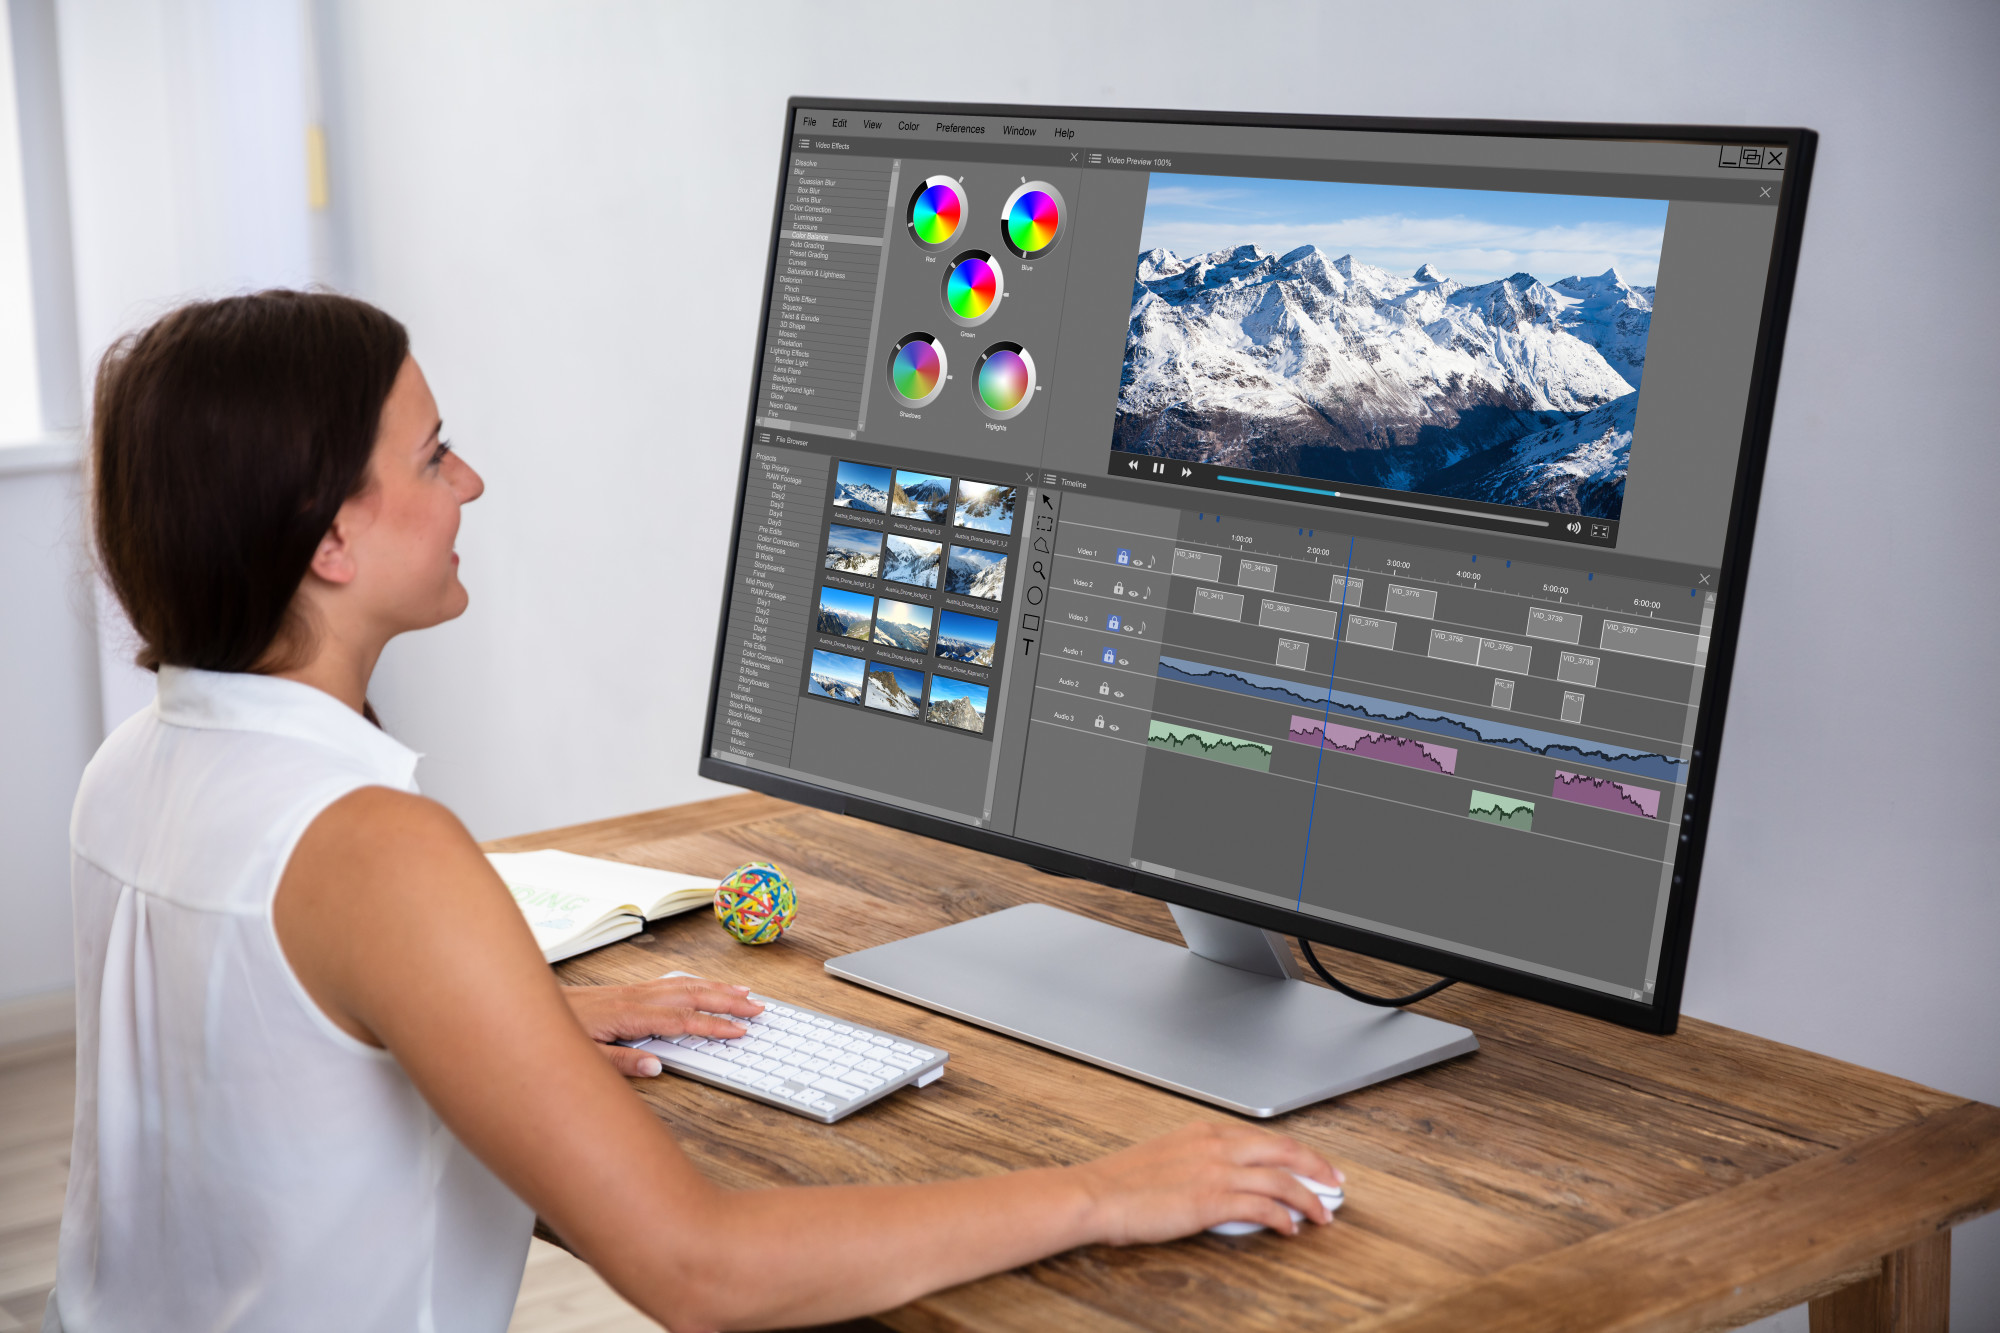
Did you know that 55.4% of photo editors are women and 44.6% are men?
Developing your style and skills as a creative individual is essential. It can help you to feel more passionate about your work and to build your approach to the job you are doing.
While photo editing is a technical skill, it is also an art. Creative individuals benefit from being able to develop elements of technical expertise.
This article outlines approaches that can help you improve, moving beyond the limitations of a novice approach.
Contents
1. Shoot Photos in RAW
RAW files are uncompressed images that contain all of the data captured by your camera sensor. This data includes all of the colors and brightness levels in your scene.
Shooting in RAW gives you the most flexibility when editing your photos. You can adjust white balance and exposure without losing any detail or quality in your image.
2. Cropping and Resizing Your Images
The most important thing to remember when cropping and resizing your images is the composition of the final image. Keep the object in the center of the image and avoid cutting off any necessary details.
Another tip is to use the “Rule of Thirds” when cropping your images. This rule states that you should mentally divide your image into thirds, both horizontally and vertically. The image’s main subject should be placed at one of the intersections of these lines.
3. Adjusting Brightness, Contrast, and Saturation
Brightness refers to the overall lightness or darkness of an image. Increasing the brightness will make the photo appear lighter, while decreasing it will make it darker.
Contrast is the difference between the lightest and darkest parts of an image. Increasing the contrast will make the light parts lighter and the dark parts darker.
Saturation is the intensity of color in an image. Increasing the saturation will make the colors more vivid while decreasing it will make them more muted.
4. Working With Layers
A layer is a separate image that can be edited independently of the background. Layers help isolate elements of a photo so you can edit them without affecting the rest of the image.
To edit a layer, first, select it from the Layers panel. Then use the tools in the toolbar to make your changes. You can also adjust the opacity of a layer to make it more or less transparent.
Layers can be moved around in the stack to change the order in which they’re applied to the photo. For example, if you have a photo with a background and a foreground, you can put the experience on a separate layer and move it behind the foreground.
5. Saving and Exporting Your Images
In addition, when exporting images for use online, make sure to choose the correct file format. JPEG is a good choice for most photos, but PNG can be a better option for images with transparent backgrounds. And for photos that will be printed, TIFF is the best format to use.
Check out this meme editor for more information on creating your next viral meme.
Basic Photo Editing
If you want to improve your photo editing skills, you should follow a few tips. First, start with the basics and work your way up. Please familiarize yourself with the different editing software programs and how they work. Second, don’t be afraid to experiment; try other techniques and see what works best for you.
If you enjoyed this article, please take a moment to read some of our other articles.


