In 1963, a legend was born. That legend has become one of the most affordable–and most reliable–platforms for firearm enthusiasts and law enforcement the world over. That legend’s name is the Glock.
The Glock is the everyman’s gun. It’s affordable, reliable, easy to use, and easy to maintain. But if you’re looking to upgrade your Glock, the standard manufacturer components just won’t cut it.
Your best bet is to change out the Glock slide. Out of all the gun parts you can replace, this one offers the most opportunities for versatility.
Keep reading as we discuss how to replace your Glock slide.
Contents
What Is a Glock Slide?
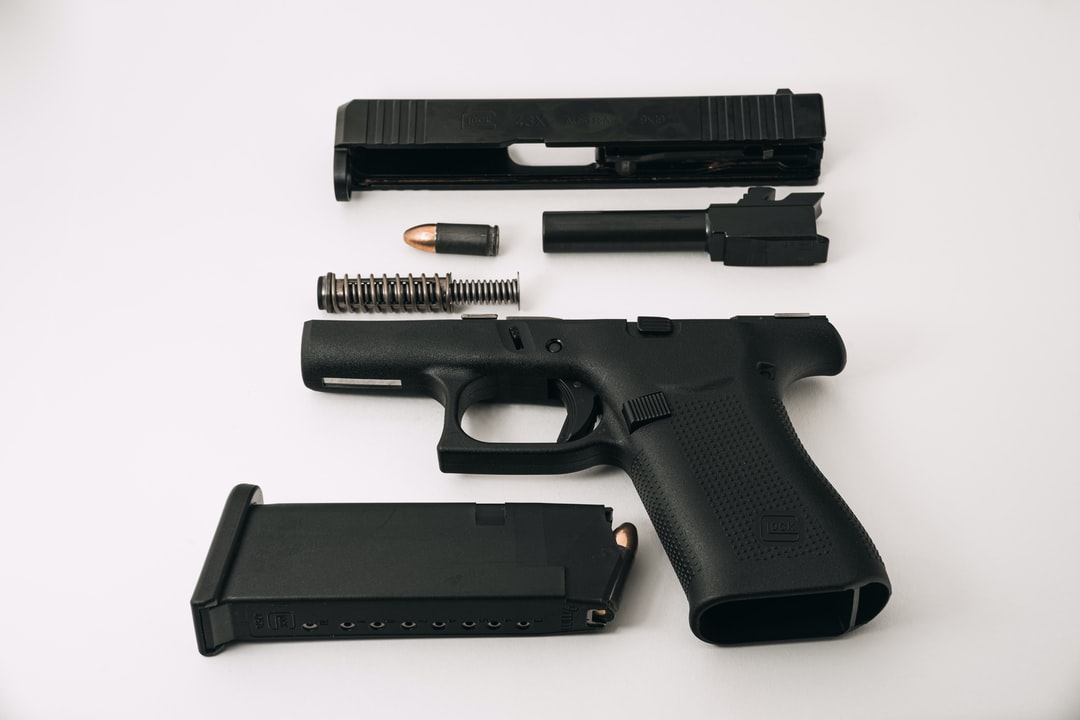
In guns, you typically have the following key gun parts:
- The grip: where you hold the weapon
- The lower receiver: the part of a firearm that contains the action
- The slide: also referred to as the upper receiver, this is the part of the action responsible for ejecting shells and charging the action
The slide fulfills a litany of important roles in everyday firearm function. It protects the lower receiver from dust and completes the action mechanism. It provides a grip for racking the action, but also dissipates heat from regular firing.
Without the slide, your Glock would cease to function. The slide allows you to attach aftermarket optics, increasing the versatility of the weapon. The Glock has a revolutionary slide design that gives it high efficiency and reliability.
Why Do You Need to Change a Glock Slide?
If it ain’t broke, don’t fix it, right? Why you would want to replace your existing slide with an aftermarket Glock slide? Here are just a few of the reasons you might want a new or upgraded slide:
- Change the finish: you may want a two-tone Glock, and this is the easiest way to do it
- Add lightening cuts: lightening cuts reduce the weight of the slide, increasing the action’s speed and reducing recoil
- Change serration placements: these are the cuts that you grip to rack the action, and placing them muzzle-ward might be useful
- Rail extension: most Glocks do not include a rail, a necessary feature for adding many aftermarket optics
- Replace worn-out parts: a Glock can last for years, but heavy use will require occasional replacement
Further, changing a slide gives you necessary experience. Firearm owners can and should get to know their weapons better. Understanding how they function can help you to appreciate the design–and handle them better.
Plus, you will need to dismantle your Glock parts for regular cleaning and maintenance. Knowing how to remove the slide is an essential skill regardless of whether you replace it. Learning how to do this now will give you the practice you need for later on down the line.
With all that said, let’s dive into everything you need to know about replacing your Glock slide.
Step 1: Prepare Your Glock for Disassembly
Before you attempt to field-strip a weapon, make absolutely clear that there is no live ammunition in the chamber. Put the safety on, eject the clip, then rack the action. This should clear the chamber of any ammo.
Do NOT look down the muzzle. Always point the gun in a safe direction. Do this field stripping in a safe place and away from children.
Find a clean, decluttered place. Carbon and grime will accumulate in your weapon, reducing its efficiency and eventually leading to a misfire. Plus, a messy man cave may make it impossible to track down small springs and pins.
Step 2: Remove Obstructions like the Lug and Striker
Get a solid grip on the rear-facing serrations. Make sure the slide-cover plate (the part that covers the back of the slide) is facing skyward.
Find a small flathead screwdriver. You can also use a pin punch if it’s small enough. Insert either one between the channel liner and the striker’s lug.
Now apply pressure to the channel liner until you have compressed the striker spring. With your thumb on your dominant hand holding the slide-cover plate, you’re going to gently nudge the cover plate until it’s out of the slide.
Step 3: Remove the Slide
Make sure you keep your thumb over that cover plate! Failure to do so could lead to the extractor–which is spring-loaded–shooting out and hitting you in the face. That, or you might lose it on the ground.
Now that the cover plate is gone, you can push the striker lug into an upward position. Remove the entire striker assembly (it should pop right out of the upper receiver) and set it down.
Something to note: don’t remove the plastic piece that you see. This is the channel liner. The manufacturer fits it to the gun with friction, meaning you shouldn’t touch it unless it’s damaged.
Step 4: Attach the New Slide
Congratulations! You’ve successfully removed your old slide. Feel free to practice the removal process multiple times until you get a feel for how things work.
Attaching a new slide should be pretty straightforward. Depress the striker spring and slide the action back on. With practice, you may learn how to do this without any tools at all.
Again, be extra careful about losing that spring. Your gun will not fire without it.
Replace Your Slide Today
The Glock slide is one of the most important parts of your firearm. It fulfills a wide variety of functions, from assisting your reloading to ejecting spent rounds. You may wish to replace it with an aftermarket slide, but even if you don’t, you should know how to remove it for cleaning.
Follow our blog for more firearm tips.